一、先上效果图:
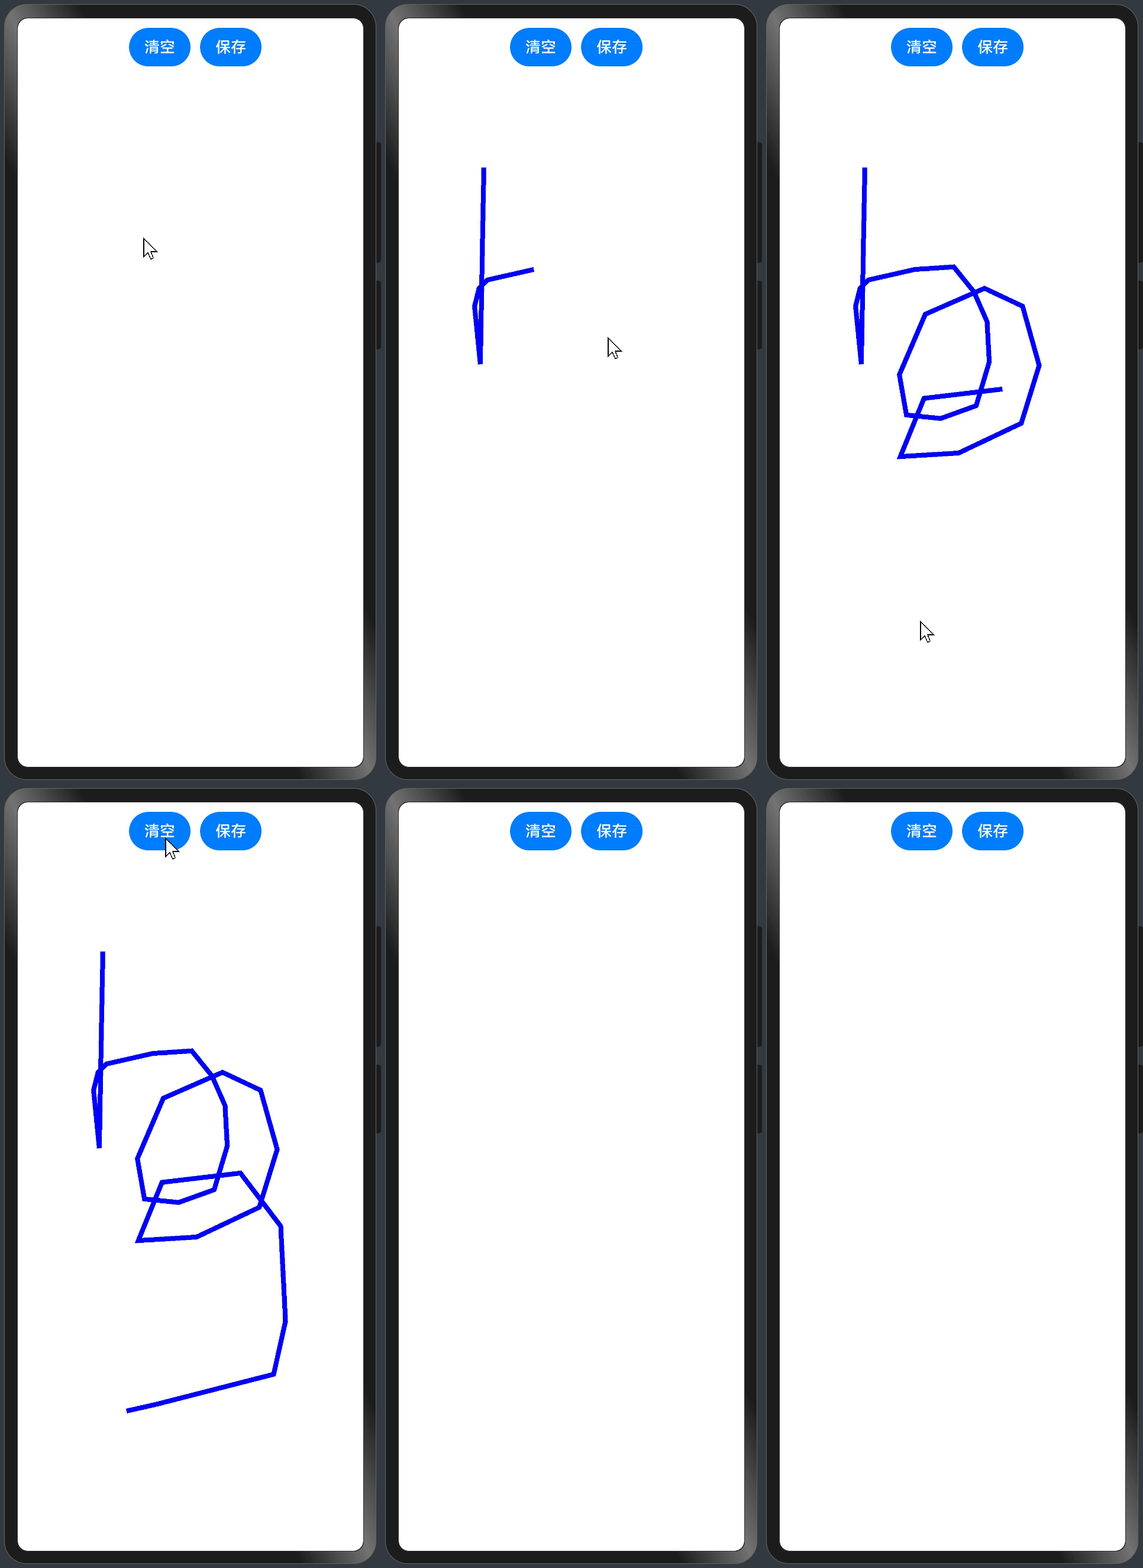
二、上代码
1
2
3
4
5
6
7
8
9
10
11
12
13
14
15
16
17
18
19
20
21
22
23
24
25
26
27
28
29
30
31
32
33
34
35
36
37
38
39
40
41
42
43
44
45
46
47
48
49
50
51
52
53
54
55
56
57
58
59
60
61
62
63
64
65
66
67
68
69
70
71
72
73
74
75
76
77
78
79
80
81
82
83
84
85
86
87
88
89
90
91
92
93
94
95
96
97
98
99
100
101
102
103
104
105
106
107
108
109
110
111
112
113
114
115
116
117
118
119
120
121
122
123
124
125
126
127
128
129
130
131
132
133
134
135
136
137
| import picker from '@ohos.file.picker';
import fs from '@ohos.file.fs';
import buffer from '@ohos.buffer';
@Entry
@Component
struct CanvasPage {
@State pathCommands: string = '';
canvas: CanvasRenderingContext2D = new CanvasRenderingContext2D();
path2D: Path2D = new Path2D();
build() {
Column() {
Row() {
Button("清空")
.margin(10)
.onClick(() => {
this.path2D = new Path2D();
this.canvas.clearRect(0, 0, this.canvas.width, this.canvas.height);
})
Button("保存")
.onClick(() => {
this.saveImage();
})
}
Canvas(this.canvas)
.width('100%')
.height('100%')
.onTouch((e) => {
this.onTouchEvent(e);
})
}
}
onTouchEvent(event: TouchEvent) {
let x = (event.touches[0].x);
let y = (event.touches[0].y);
switch (event.type) {
case TouchType.Down:
this.path2D.moveTo(x, y);
break;
case TouchType.Move:
this.path2D.lineTo(x, y);
this.canvas.strokeStyle = "#0000ff";
this.canvas.lineWidth = 5;
this.canvas.stroke(this.path2D);
break;
default:
break;
}
}
saveImage() {
let imageStr = this.canvas.toDataURL().split(',')[1];
let uri = '';
try {
let PhotoSaveOptions = new picker.PhotoSaveOptions();
PhotoSaveOptions.newFileNames = ['11111.png'];
let photoPicker = new picker.PhotoViewPicker();
photoPicker.save(PhotoSaveOptions).then((PhotoSaveResult) => {
uri = PhotoSaveResult[0];
let file = fs.openSync(uri, fs.OpenMode.READ_WRITE);
const decodeBuffer = buffer.from(imageStr, 'base64').buffer;
fs.writeSync(file.fd, decodeBuffer);
fs.closeSync(file);
}).catch((err: Error) => {
console.error(err + '');
})
} catch (e) {
console.error(e);
}
}
}
|
在这段代码中,根据功能划分,主要涵盖了三个关键操作:绘制路径、清空画布和保存画布。
一、绘制路径
在绘制路径方面,代码通过Canvas执行同时借助Path2D定义了具体的绘制路径。手写路径的生成通过记录手指按下和移动的位置实现。具体操作包括:
1
2
3
| this.path2D.moveTo(x, y)
this.path2D.lineTo(x, y)
|
二、清空画布
清空画布的操作分为两步:
1.将路径置空
1
| this.path2D = new Path2D();
|
2.清空canvas
1
| this.canvas.clearRect(0, 0, this.canvas.width, this.canvas.height);
|
三、保存画布
保存画布的过程主要由`saveImage`方法完成,依赖于`@ohos.file.picker`组件,调用系统的图片保存功能。具体步骤包括:
通过PhotoViewPicker的save方法获取用户选择的保存文件路径。
利用Canvas的toDataURL()方法将Canvas转换为base64字符串形式的图片。
通过@ohos.buffer将base64字符串转换为buffer。
最终,通过@ohos.file.fs将buffer写入文件,文件的路径为之前获取的保存路径。
这一系列步骤成功实现了将绘制的图像保存为一个完整的图片文件。整体而言,代码清晰地展示了绘制路径、清空画布和保存画布的功能实现。


